AT commands, are special instructions for controlling a modem. They're short strings of text that you can combine to instruct the device to do things like dialing, handling text messages, or adjusting how the modem connects to the network. This Blog aims to provide guidance on the most common AT commands that you can use with your device.
How can I send AT Commands to a router?
There are several ways to Send AT commands to a router:
For Windows, you can use SSH clients such as PuTTY or Bitvise.
For Mac: you can use the Terminal
Alternatively you can use the devices built-in CLI (Command Line Interface).
In order to successfully SSH into the device, you will need to know three things:
the router's LAN IP address (typically 192.168.1.1 but may differ - check the device manual for instructions).
The router’s username.
The router’s password.
For this test, we’ll use the Terminal to SSH into a Teltonika RUT 241 device. To SSH into a device using the terminal, you can use the following command:

AT command sequence for establishing a connection:
AT - checks the communication between the device and the application.
AT+CGREG? and/or AT+CEREG? - Checking the connection status.
AT+CGREG=1 and/or AT+CEREG=1 - configures the modem to report unsolicited result codes related to the registration status of the mobile device on the GSM network.
AT+COPS=? - Returns the list of available Operators (it may take longer to execute).
AT+COPS=0 - Enables automatic operator selection.
AT+CGDCONT=1,”PDP type”,”APN” - sets the PDP(Packet data protocol) context parameters.
AT+CGACT - Activates the PDP context parameters.
Teltonika devices use gsmctl which are a set of shell commands that can request information from or perform operations on a modem. In other words, gsmctl is a way to use AT commands in shell form. With other SSH clients such as PuTTY, the use of gsmctl commands may not be required.
Now that we have everything that we need, let’s take them one by one as see how they look in the Terminal.
AT - The "AT" command is a basic command used to check if a modem is responsive. It's like saying "Are you there?" to the modem. When you send "AT" to a modem, it should respond with "OK" if it's working properly. This interaction confirms that the modem is ready to receive further commands.

2. AT+CGREG? and/or AT+CEREG? - these commands are used to query the registration status of a device on a cellular network.
"AT+CGREG?" is typically used with GSM (2G) and UMTS (3G) networks to check the registration status.
"AT+CEREG?" is used with LTE (4G) networks to do the same.
These commands help determine if the device has successfully registered on the cellular network and provide information about the network registration status, such as whether it's registered, searching, or not registered.

If the response shows +CGREG: x,5 or +CEREG: x,5, it indicates that your modem is currently registered to a network and operating in roaming mode which is expected as Simbase SIM cards are roaming SIMs
3. AT+CGREG=1 and/or AT+CEREG=1 : These commands are used to enable unsolicited network registration status updates from the modem.
"AT+CGREG=1" is used in GSM (2G) and UMTS (3G) networks.
"AT+CEREG=1" is used in LTE (4G) networks.
These commands instruct the modem to automatically send notifications about changes in the network registration status, such as when the device registers on a network or changes its registration status.

4. AT+COPS=? and AT+COPS=0
If you’d like to see first what available network operators are in the area, you can use AT+COPS=?: This command is used to query the available operators or networks that the modem can connect to. When you send this command to the modem, it responds with a list of available operators along with their corresponding numeric or alphanumeric identifiers.

AT+COPS=0 on the other hand, is used to set the modem to automatically select and register on the best available network. By using this command, you instruct the modem to automatically select the operator or network to which it should connect based on its predefined settings or preferences. This command is often used to ensure that the modem connects to the preferred or default network without manual intervention.

5. AT+CGDCONT=1,”PDP type”,”APN” - This command configures a cellular modem's data connection. It sets parameters for a specific data channel, specifying the type of data protocol to use ("PDP type") and the Access Point Name ("APN") to connect to the desired network.

6. AT+CGACT: This command is used to activate or deactivate a PDP (Packet Data Protocol) context in a cellular modem. PDP contexts are data channels established between a mobile device and the Packet Data Network Gateway (PDN-GW) of a cellular network.
When you send the AT+CGACT command with parameters, it either activates or deactivates a specific PDP context. Each parameter corresponds to a specific PDP context identifier. For example, AT+CGACT=1 activates PDP context 1, while AT+CGACT=0 deactivates it.
This command is essential for initiating or terminating data connections, enabling devices to access data services such as browsing the internet or sending/receiving data over the cellular network.
For Quectel modems to activate the PDP context for profile 1 you need to use the following command:AT+CGACT=1,1. Consult your modem’s documentation for more information as these commands can vary based on the device.

How to test the connection quality?
The AT+CSQ command is used to query the signal strength of a cellular modem.
Upon receiving this command, the modem responds with a numeric value representing:
The Received Signal Strength Indication (RSSI).
The Bit Error Rate (BER).
The format of the response typically looks like this: "+CSQ: xx,yy".
"xx" represents the RSSI value, indicating the signal strength.
"yy" represents the BER value, indicating the bit error rate.
The RSSI value gives an indication of the signal strength, usually expressed in dBm (decibels relative to one milliwatt).
A higher RSSI value generally indicates a stronger signal and better reception quality.
The BER value indicates the bit error rate of the received signal.
A lower BER value indicates better signal quality and fewer transmission errors.
Overall, the AT+CSQ command provides valuable information about the signal quality of the cellular network, which can be useful for troubleshooting connectivity issues and optimizing performance.

RSSI: 19 indicates the Received Signal Strength Indication, with an equivalent of -75dBm
BER: 99 represents the Bit Error Rate is not known or not detectable (typically a value between 0-7 or the value 99 if unknown)
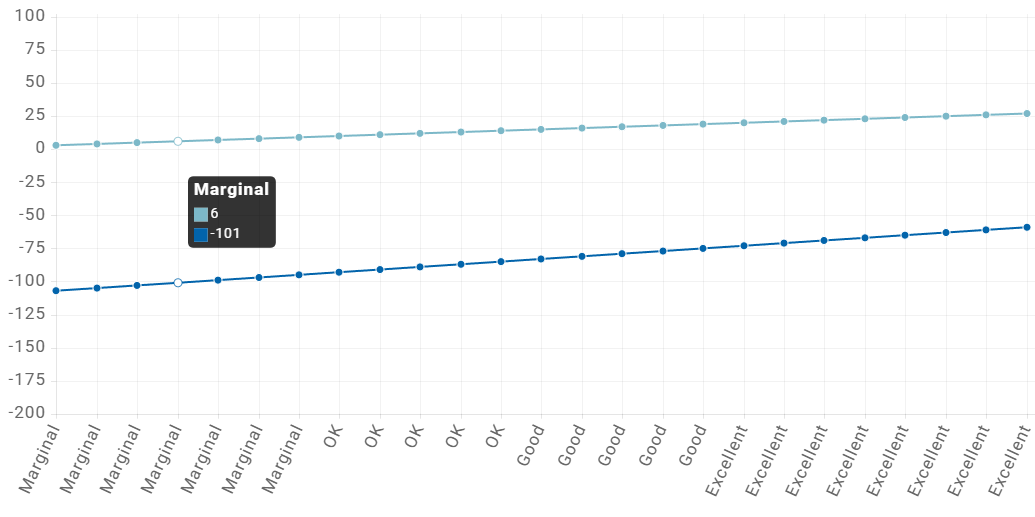
Cellular Signal Quality